More actions
No edit summary |
No edit summary |
||
| Line 71: | Line 71: | ||
11. Tap Save. | 11. Tap Save. | ||
12. The email account configuration has been completed. Your email address will now be listed and you can start using the same. | 12. The email account configuration has been completed. Your email address will now be listed and you can start using the same. | ||
Latest revision as of 19:05, 4 August 2015
Configure your Email on iPhone
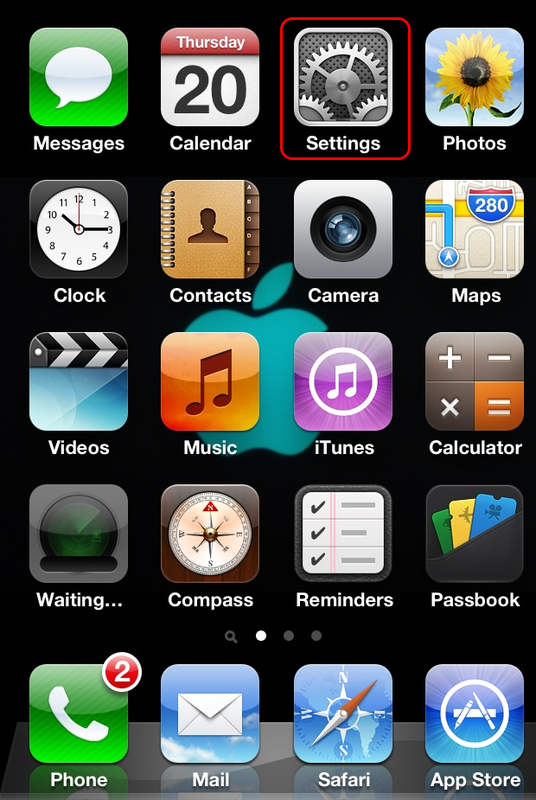
1. Tap Settings on your home screen.
2. Scroll down and tap Mail, Contacts, Calendars.
3. Tap the Add Account option.
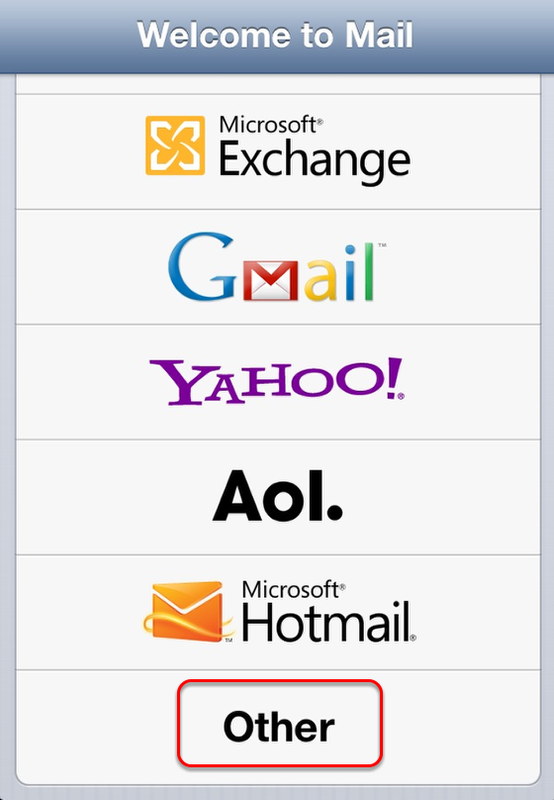
4. Tap Other.
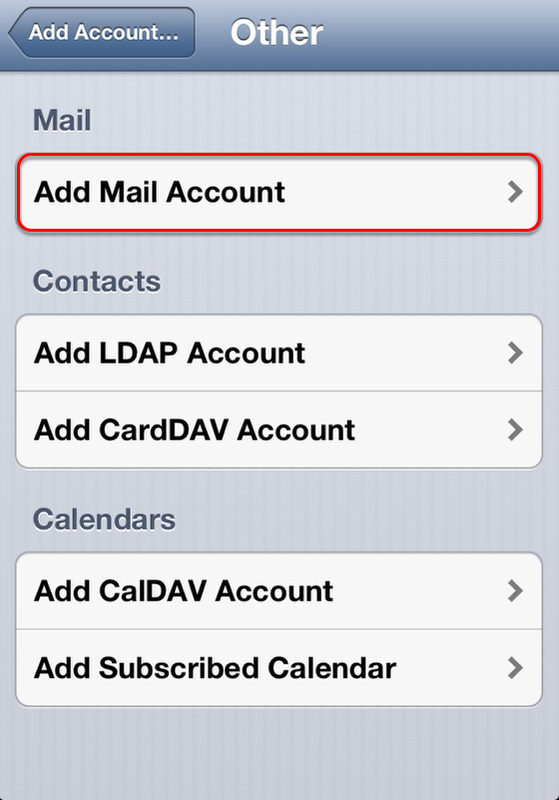
5. Tap Add Mail Account.
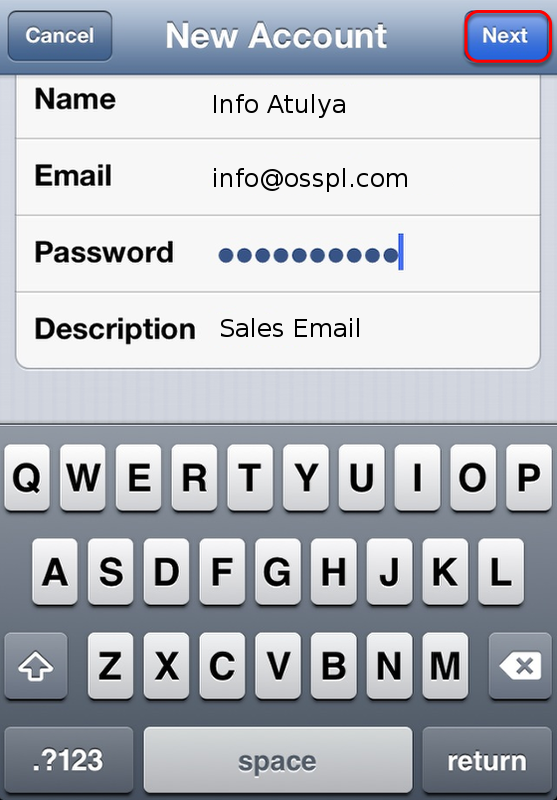
6. Enter the following settings: Name: Enter your name as you wish it to appear when you send email. Address: Enter your complete email address. Password: Enter your email password. Description: This will be used to identify this email account on your iPhone.
Tap Next.
7. The email service supports both IMAP and POP. In this tutorial I am going to select IMAP. You can select either IMAP or POP. The settings that follow are the same for both.
We recommend IMAP because it will keep messages in sync between your iPhone and any other computers or devices that you also use with IMAP to access your email account.
8. Scroll down after selecting IMAP or POP.
- For IMAP Configuration (Recommended Configuration)
Under the Incoming IMAP Mail Server section, enter the following settings.
Host Name: imap.your-domain-name (eg: imap.demomonkey.org) User Name: Enter your complete email address. Password: Enter your email password.
- For POP Configuration
Under the Incoming POP Mail Server section, enter the following settings.
Host Name: pop.your-domain-name (eg: pop.demomonkey.org) User Name: Enter your complete email address. Password: Enter your email password.
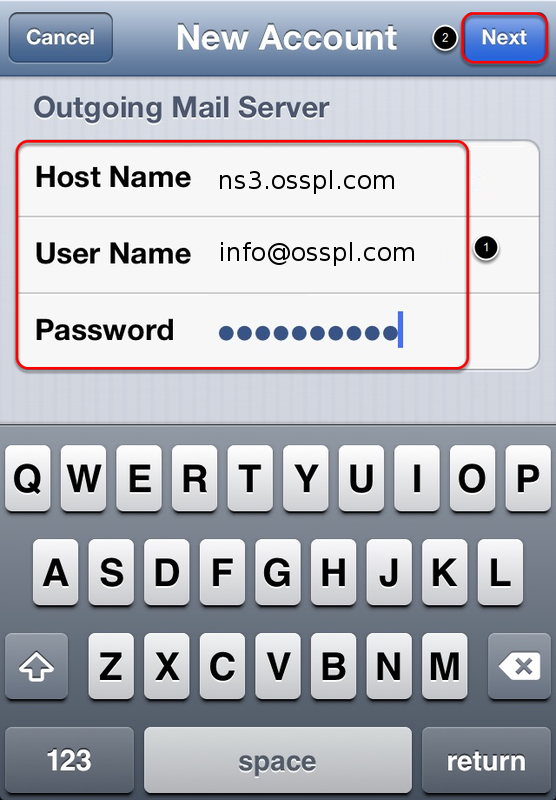
9. Scroll down to the Outgoing Mail Server section.
Under the Outgoing Mail Server section, enter the following settings:
Host Name: smtp.your-domain-name (eg: smtp.demomonkey.org) User Name: Enter your complete email address. Password: Enter your email password.
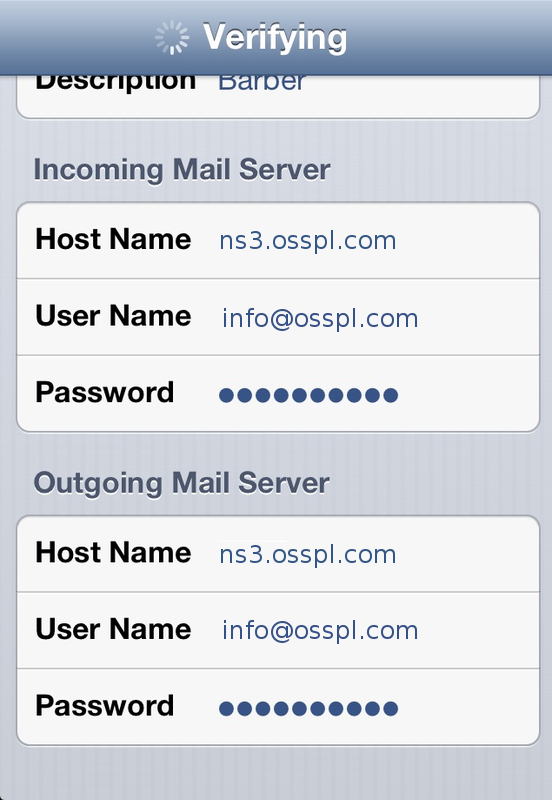
10. Tap Next
Your device will now verify your email account settings. Be patient, as this may take several minutes.
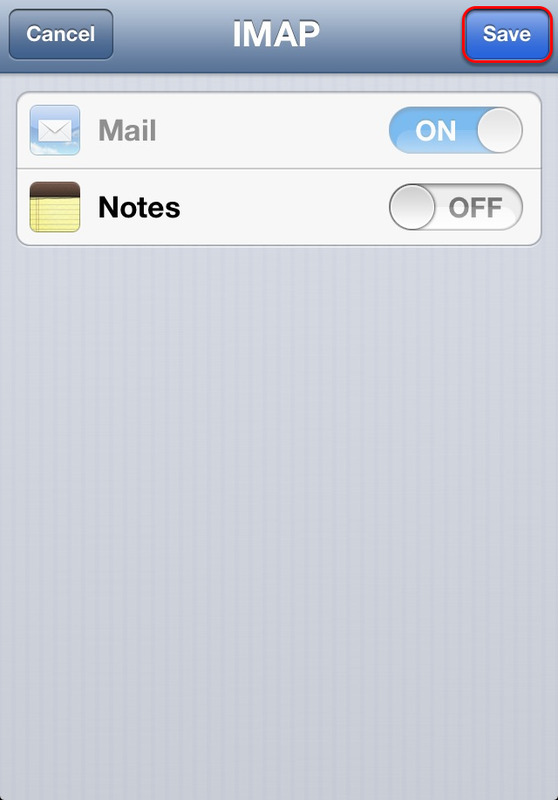
11. Tap Save.
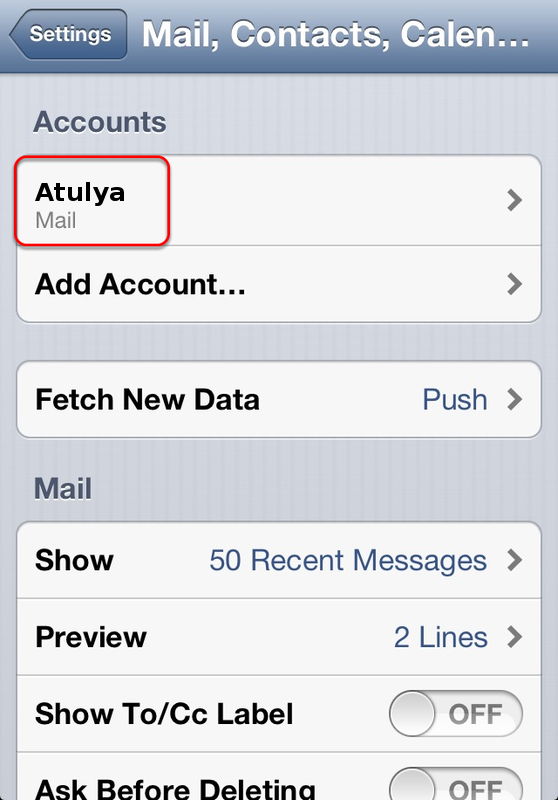
12. The email account configuration has been completed. Your email address will now be listed and you can start using the same.
